The Essential Guide to Smoke Detector Installation in Your Home

Introduction to Smoke Detector Installation
Installing smoke detectors in your home isn’t just a safety measure; it’s a necessity. Most people know they need them but might not understand the basics of getting them set up correctly. First off, you should have a smoke detector on every level of your home, including your basement. Bedrooms and hallways near bedrooms are also critical spots. The installation itself isn’t complicated. You can either go for battery-operated detectors or wired ones. Wired detectors are connected to your home’s electrical system but usually have backup batteries. Positioning is key. Smoke rises, so place detectors on the ceiling or high on walls, ensuring they’re not near windows or ducts where drafts could mess with their operation. Testing them monthly and replacing batteries yearly or as needed ensures they keep working when you most need them. In short, smoke detectors are your first line of defense in a fire, making their installation and maintenance non-negotiable for home safety.

Why Smoke Detectors are Crucial for Home Safety
Smoke detectors save lives, period. Every year, fires in homes cause heartbreaking losses because of late detection. Having a smoke detector in your place does more than just beep loudly at a sign of smoke; it gives you a chance to react quickly, potentially saving lives and preventing extensive damage to your home. It’s a first line of defense against the catastrophic effects of fires, alerting you even when you’re asleep. Think about it – without a smoke detector, you’re basically flying blind against the threat of a fire. It’s that critical early warning that can make all the difference. So, when it’s about the safety of your home and the people in it, installing smoke detectors is non-negotiable. They’re an essential part of keeping everyone safe.
Types of Smoke Detectors for Home Use
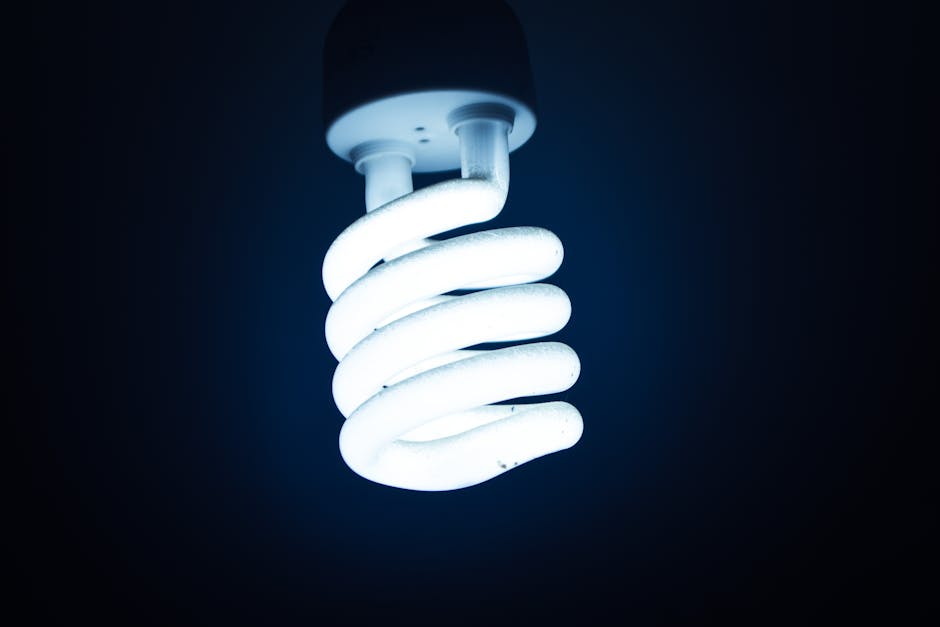
Smoke detectors can be lifesavers, literally. When you’re picking one for your home, you’ve got mainly two types to choose from: ionization and photoelectric smoke detectors. Ionization smoke detectors are like the speedy ones. They’re quick to alert you when there’s a fire with fast flames. Think of a greasy pan catching fire – ionization detectors catch this fast. But then, there’s the photoelectric type. These are your slow and steady detectors. They’re better at sensing a smoldering couch before it turns into a blazing inferno. Some smoke detectors combine both technologies, giving you a dual-sensor smoke detector. This kind is like having the best of both worlds. Whichever you choose, just having one can make all the difference. Remember, it’s not just about picking any smoke detector; it’s about picking the right one for your home’s needs.
Necessary Tools and Materials for Installation
To get started with installing a smoke detector, you don’t need a whole toolbox. A few basic items will do the trick. First off, you’ll need a drill. It doesn’t have to be top-of-the-line, just reliable enough to make holes in your wall or ceiling. Next, grab a screwdriver. Most smoke detectors come with screws, and you’ll use the screwdriver to secure the device in place. You’ll also need wall anchors. These are vital if you’re drilling into drywall, as they help to keep the screws tight and the smoke detector stable. Don’t forget the hammer, just a light tap is often enough to push those anchors in completely. Lastly, have the smoke detector itself and any batteries it requires on hand. If your smoke detector is hardwired, ensure the power is off before you start wiring it up. With these tools and materials, you’re all set to make your home a safer place.
Choosing the Right Location for Smoke Detectors
Picking the perfect spot for your smoke detectors is simpler than you think. You need them where they’ll catch smoke as quickly as possible. That means installing them on the ceiling because smoke rises. If ceiling placement isn’t possible, go for high up on the walls, but ensure it’s no more than 12 inches away from the ceiling. Avoid placing detectors near windows, doors, or ducts where drafts could whisk smoke away before the detector notices it.
Kitchens? Be careful. Put the detector at least 10 feet from cooking appliances to avoid false alarms. Bedrooms need attention too. Make sure there’s one inside every sleeping area and at least one on each level of your home, including the basement. To wrap it all up, interconnecting your smoke detectors can be a smart move, so when one alarm goes off, they all do, giving you the best chance to react fast. Simple steps, but they could save your life.
Step-by-Step Guide to Installing Smoke Detectors
First, decide where to place smoke detectors. Key spots include each bedroom, outside sleeping areas, and on every floor, including the basement. Avoid placing detectors near windows, doors, or ducts where drafts might interfere with their operation.
Grab the right tools before you start—usually, a drill, screwdriver, and possibly a hammer.
Step 1: If it’s a battery-powered unit, open the detector and insert batteries. Make sure it beeps or lights up, indicating it’s working. For hardwired units, this step will come later.
Step 2: Next, mark the spots on the ceiling or high on walls (since smoke rises) where you’ll install the detectors. Use the mounting bracket as a template to mark screw holes.
Step 3: Drill holes where you’ve marked for screws, and gently tap in any wall anchors you might need.
Step 4: Screw the mounting bracket into place. Ensure it’s securely fastened.
Step 5: Attach the smoke detector to the mounting bracket. For battery-operated detectors, you’re just clicking it into place. If it’s a hardwired model, you’ll need to connect the wires according to the manufacturer’s instructions before attaching it to the bracket.
Step 6: Test the detector. Press the test button to ensure it’s working correctly. You should hear a loud beep or alarm sound.
Final Thought: Don’t forget to perform regular maintenance, like testing the detectors monthly and replacing batteries at least once a year or as per the device’s indicators. Remember, this small task can make a big difference in keeping your home safe.
Testing Your Smoke Detector After Installation
After installing your smoke detector, testing it is crucial to ensure it’s working correctly. Press the test button on the device; it should emit a loud alarm. If it doesn’t, double-check the batteries and ensure it’s correctly installed. Manufacturers recommend testing your smoke detector monthly and replacing the batteries at least once a year. Remember, a functioning smoke detector is your first line of defense against fires. It’s simple, just press, listen, and stay safe.
Maintenance Tips for Smoke Detectors
Keeping smoke detectors in top shape isn’t tricky, but it’s crucial. First, test them monthly. Just press the test button—a quick job but a big deal for safety. Batteries? They need a swap once a year, even if they seem fine. Trust me, you don’t want to skimp on this. And clean them out at least once a year too. Dust and cobwebs can mess with their sensors. Vacuum around the unit gently, be thorough but don’t rough them up. Every 10 years, say goodbye and replace them, even if they look okay. Technology changes, and so does their efficiency. Remember, this isn’t just a chore, it’s about keeping you and your home safe. Simple steps, big impact.
Common Mistakes to Avoid in Smoke Detector Installation
When installing smoke detectors at home, many folks rush the process and end up making some common mistakes that could compromise their family’s safety. Avoid these slips to ensure your smoke detectors do their job when it counts. First, don’t place detectors near windows, doors, or vents. Why? Drafts can steer smoke away, delaying the alarm. It’s a mistake as clear as day but happens more often than you’d think. Second, mounting detectors too close to the kitchen or bathroom is a blunder. False alarms are annoying, and if your detector cries wolf too often because of steam or cooking smoke, you might start ignoring it. That’s a risk you don’t want to take. Third, forgetting to install smoke detectors in bedrooms and outside sleeping areas can be a grave oversight. Fires can start anywhere, anytime. Ensuring each sleeping area has its alert system is crucial. Fourth, skipping the installation of detectors on every level of your home, including the basement, is like leaving your guard down. Smoke doesn’t take the stairs; it spreads fast and in all directions. Lastly, failing to test detectors monthly and not replacing batteries annually are simple tasks often ignored. A detector can’t shout for help if it’s not working right. Always test your smoke detectors and mark your calendar to change the batteries without fail. Avoid these missteps, and you’re stepping toward a safer home.
Conclusion: Ensuring Your Home is Safe
Wrapping up, installing smoke detectors in your home is not just about ticking a box for safety. It’s about making a smart choice to protect yourself, your loved ones, and your belongings from the devastating effects of fires. Remember, it’s better to spend a little now on reliable smoke detectors than face the unthinkable consequences of a fire without warning. Position them strategically in bedrooms, kitchen areas, and hallways, away from windows or anything that might interfere with their operation. Test them monthly and replace batteries at least once a year or opt for models with 10-year batteries to lessen the hassle. Don’t overlook the importance of having a fire escape plan that everyone in the household is familiar with. Safety is no accident. It’s a deliberate action. Make sure your home is equipped and prepared – it could very well save your life and those you cherish.